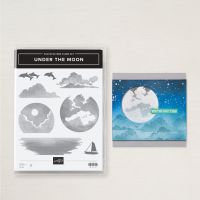
Hello and welcome to my blog! Today I'm going to show you how to make this beautiful night sea scene using the Under the Moon Stamp Set. First, let's take a look at the card and important points in making this card. At the bottom of my post are links for a free tutorial and instructional video.
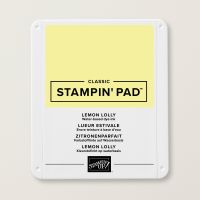
Let's look at how to make the artwork. Start with a 3 1/2" x 3 3/4" piece of Basic White. Stamp the moon in Lemon Lolly close to the top. Cover the bottom of the moon and the whole Basic White piece with a Post-It note.
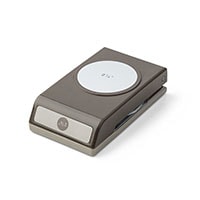
Punch a 2 1/4" circle out of a Post-It note and adhere over the moon.
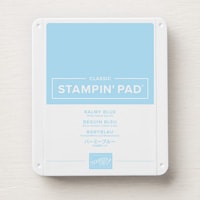
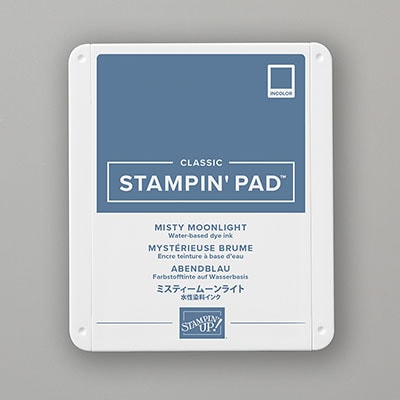
Lightly blend Balmy Blue ink around the moon. Next, blend Misty Moonlight on the rest of the white area.
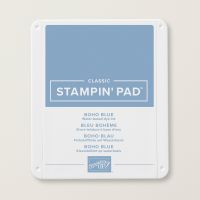
Remove the Post-It note and turn it around so it is covering the sky and moon. Make sure there is a very small blue strip showing below the Post-It note or you will have a white line at your horizon. Stamp the water stamp in Boho Blue.
Finish off any white areas with Misty Moonlight ink.
Stamp the porpoises, or the boat, from the stamp set in Memento Tuxedo Black.
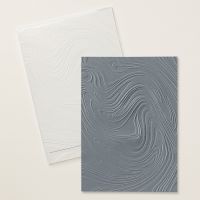
Emboss a 5 1/4" x 3" piece of Misty Moonlight cardstock with the So Swirly Embossing Folder and adhere to the left front. Cut two 1 3/8" squares out of Boho Blue cardstock and adhere behind the upper and lower left-hand side corners. Wrap white twine around the bottom and adhere to the card front with dimensionals.
For some finishing touches, I added stars with a white gel pen and glimmer on the water with Wink of Stella.
I did add a sentiment to the lower right-hand corner on a Basic White circle cut with a die from Spotlight on Nature. You can see that on my video. You can also see how I stamped my inside.
Tada! Here's the finished card! See how easy that was! Now you can give it a try.
Click on the box below to download your free tutorial.
Click on the picture below to visit my YouTube Channel to watch a video showing the construction of this card. Please subscribe to my channel while you're over there.
Thank you for visiting my blog!!
Subscribe to My Blog and Newsletter

.jpg)
.JPG)
.JPG)
.JPG)
.JPG)
.JPG)
.JPG)
.JPG)
.JPG)
.jpg)






No comments:
Post a Comment
I would love to hear from you! Please leave comments below.