Thursday, May 20, 2021

Hats Off Father's Day Card


Hi, Everyone!
Today I'm participating in a Blog Hop featuring Father's Day Cards. What a great way to get some ideas for those men in your life, whether it is Father's Day or a birthday!

I'm using the great, new Hats Off Bundle in our new Annual Catalog which includes the Hats Off Stamp set and Hat Builder Dies.

I also used the new Bark Embossing Folder on the 4" x 5 1/4" Crumb Cake layer. The 1 1/4" x 5 1/4" Garden Green strip across the middle was embossed with the Hammered Embossing Folder. On the top left of that strip are trees from the new Evergreen Border punch. Love, love, love! My attempt at a hint of camouflage was made by using the smudge stamps from Dressed to Impress. 

This hat die cuts a very realistic-looking hat! I just love it!
This is the finished inside of the card.


I hope you like my card and will come back to visit my blog. Please hop on along with these other talented demonstrators by clicking on the links below.


Subscribe to My Blog and Newsletter
* indicates required
Product List

Tuesday, May 4, 2021

Technique Tuesday Blog Hop with Blending Brushes and Dandelions Embossing Folder


Hi, Crafty-Happy People!
Today is Technique Tuesday and I'm joining a Coloring Technique Blog Hop. I think you'll find this an exciting Blog Hop in that you will be able to learn many different coloring techniques from other demonstrator.

This is the card I made to demonstrate my coloring technique. This technique incorporates ink and Blending Brushes on Pearlescent paper. Let's start with the supplies.

I started by embossing a 4" x 5 1/4" piece of Pearlescent Specialty paper with the Dandelions Embossing Folder. If you don't own the Pearlescent Specialty paper, you will want to get some. It is beautiful and loves embossing folders!
The 3 colors I used were Just Jade, Pacific Point, and Gorgeous Grape.

Starting at the bottom, I blended Just Jade ink about a third of the way up the Pearlescent paper.
I then continued on with the Gorgeous Grape ink. I blended heavier in the center of the dandelions.
The last color I used was Pacific Point to give the impression of the sky.
The cardstock I used was Gorgeous Grape for the base, 11" x 4 1/4", and Just Jade, 4" x 5 1/4", for the frame. I cut the center out with the next to largest Stitched Rectangles die. I also added a Mint Macaron ribbon across the bottom to finished it off.
Notice on this card I put the card together a little different. Instead of putting the Just Jade frame on top of the Pearlescent paper, I adhered it underneath. I believe I like it better this way, and look how much cardstock you save. Which one is your favorite?
I hope you learned a new coloring technique from my blog post, and will come back to visit me another day, but today, visit the blogs of the demonstrators listed below. Thanks for stopping by!


/div>


Subscribe to My Blog and Newsletter
* indicates required

Monday, May 3, 2021

Beautiful Barn Scene for Kylie's International Blog Highlights


Hi, Crafty Happy People!
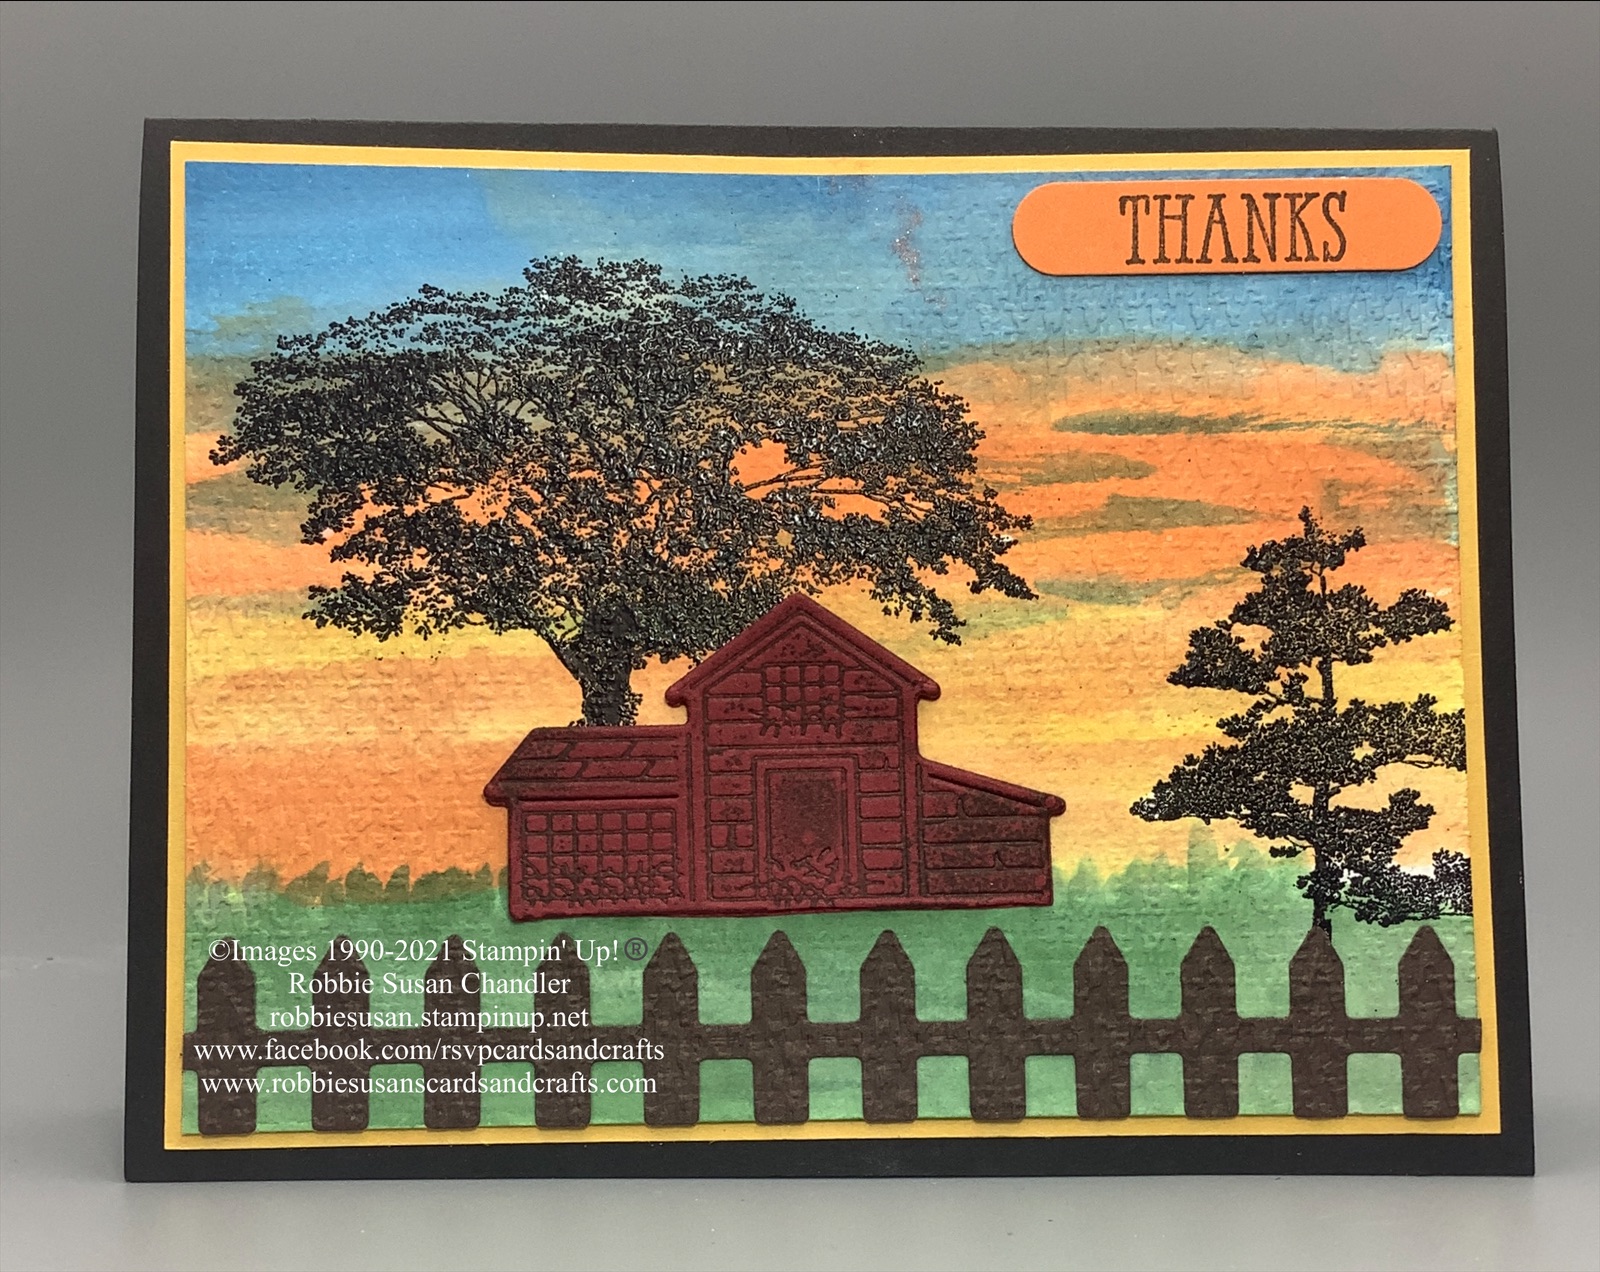
I've made this gorgeous Red Barn at sunrise Thank You card for Kylie's International Blog Highlights. This means I'm asking you to vote for me so I can participate in her Top 10 Blog Hop! CLICK HERE TO VOTE! Look for entry #10. 

Now some details about this card. Thanking someone for a kind act you're thankful for will be easy with a card this beautiful and serene.

You've heard the expression, waking up with the chickens, well, I thought of that when I designed this card. The tree is a stamp from Rooted in Nature stamped with VersaMark, and heat embossed with Black Embossing Powder.

A wash of colors created a sunrise. The colors I used were Garden Green, Daffodil Delight, Pumpkin Pie, then Pacific Point. To give this piece the look of canvas, I embossed it with the Tasteful Textiles embossing folder. 

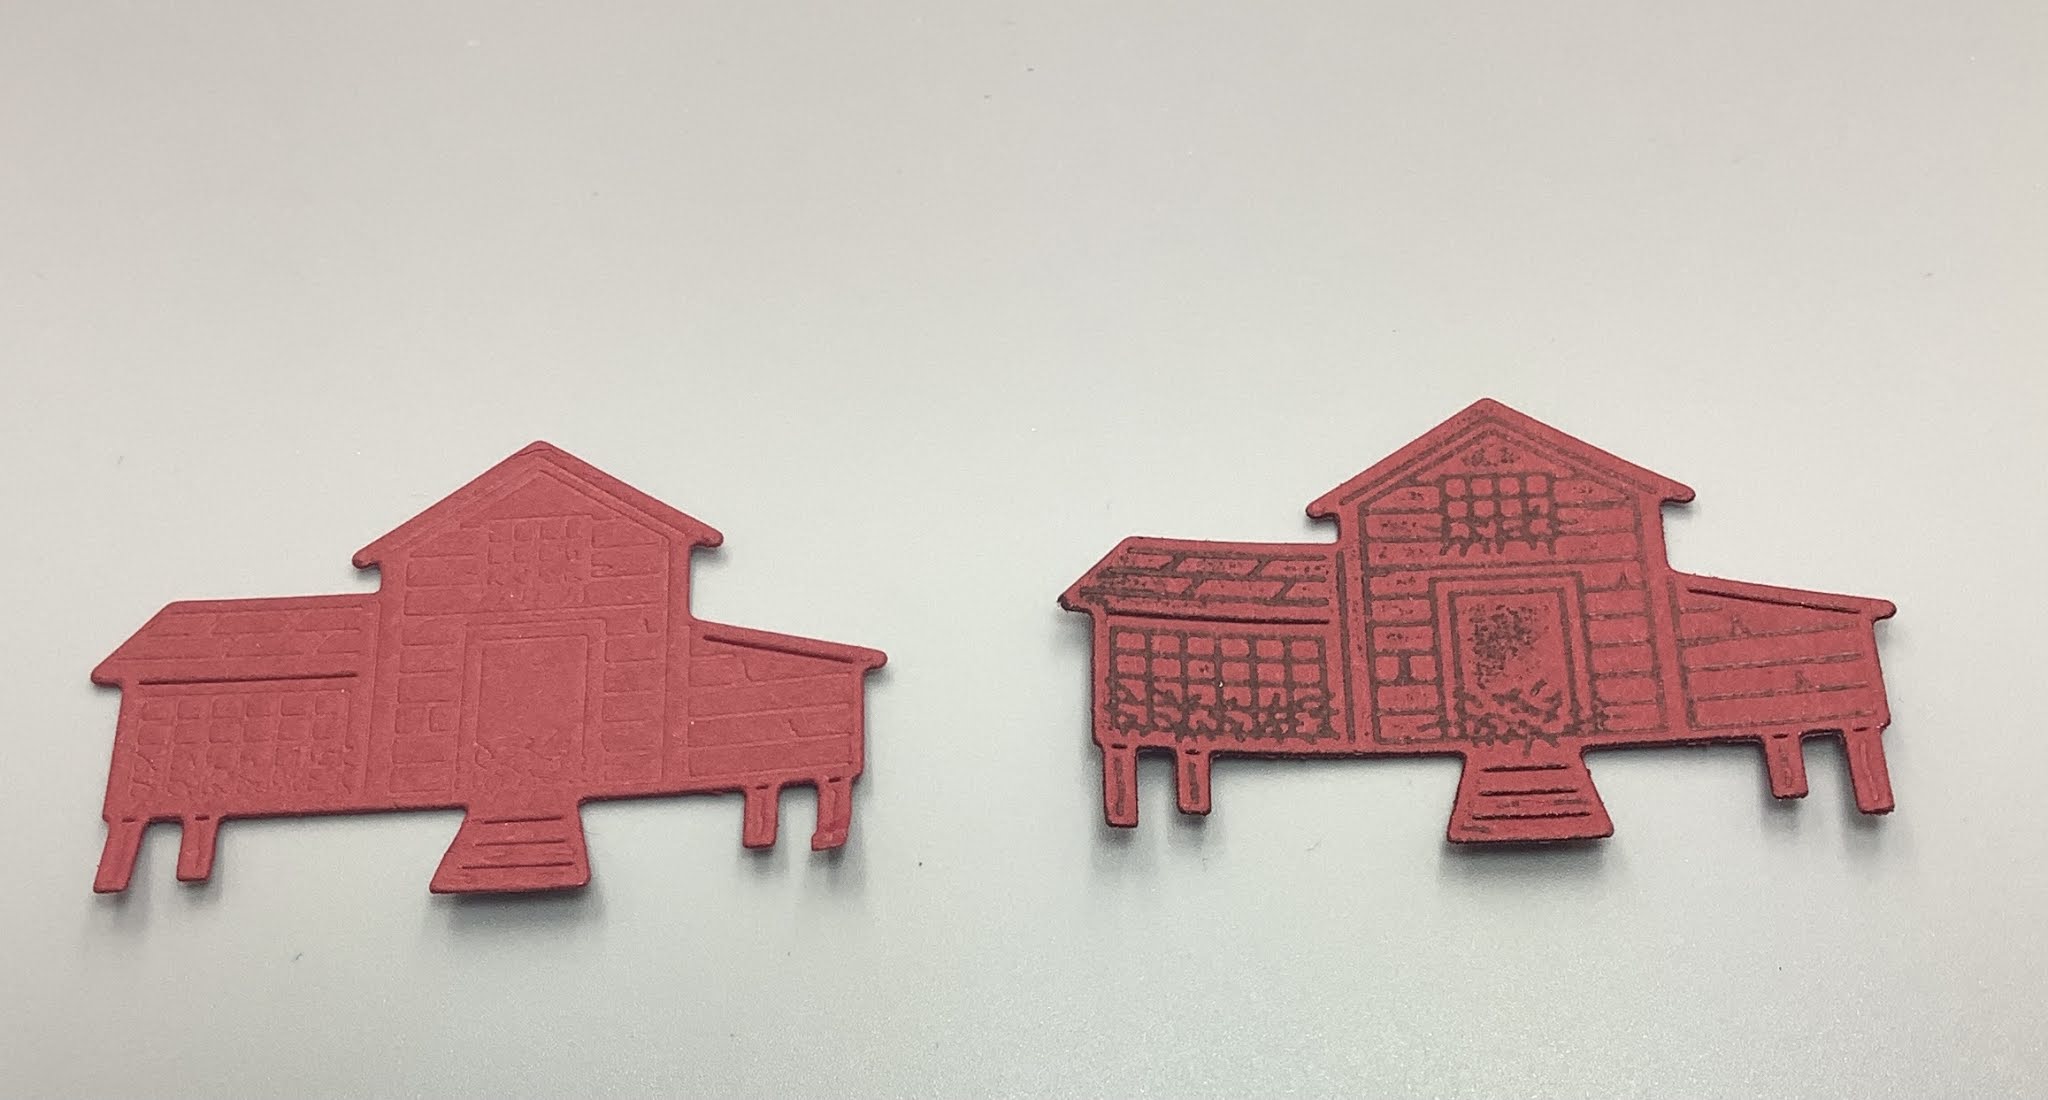
The barn was cut out of Cherry Cobbler cardstock with the chicken coop die from the Chick Dies. To give the barn more dimension, I tapped the die on Early Espresso ink before cutting it. As you can see in the picture below, it makes quite a difference.

I made some small adjustments to the chicken coop, such as cutting off the ramp and the bottom poles.


The fence was cut with a die from Birthday Chick dies and adhered across the bottom.


I hope you like my card and thanks for visiting my blog.

And don't forget, Please Vote-Click Here!


Subscribe to My Blog and Newsletter
* indicates required
Product List
Chick Dies
[158199]
$32.00
Black Stampin' Emboss Powder
[109133]
$5.00