


Hi, Crafty People!
Today is Technique Tuesday Blog Hop Day! That means I am hopping with a fabulous group of demonstrators all around the globe. Our technique challenge is different ways to use heat embossing. It just so happened that a Technique Club I'm in was taught the Joseph's Coat technique by one of my downline, Linda Ray. Now, I was familiar with the Joseph's Coat technique, but not the method that Linda taught us, so I thought I would demonstrate this for you. This card is also one that my customers will make this week in my card classes.


The next stamp sounds tricky, but you don't have to be precise. You take the same stamps you have just used, after you have cleaned them, and stamp in VersaMark, trying to stamp on top of the matching stamp. As I stated, it doesn't have to hit right on top of the matching stamp. Sprinkle Clear Embossing Powder on top of the VersaMark and heat emboss.

I hope you can see in the picture below the shine of the Clear Embossing Powder.

Next the fun part!! Using a Blending Brush, blend Cinnamon Cider ink all over the stamped area. The ink will not stick where the Clear Embossing Powder is.

Take a paper towel and rub off the ink from the embossed area. The colors will pop, as you can see in the picture below.

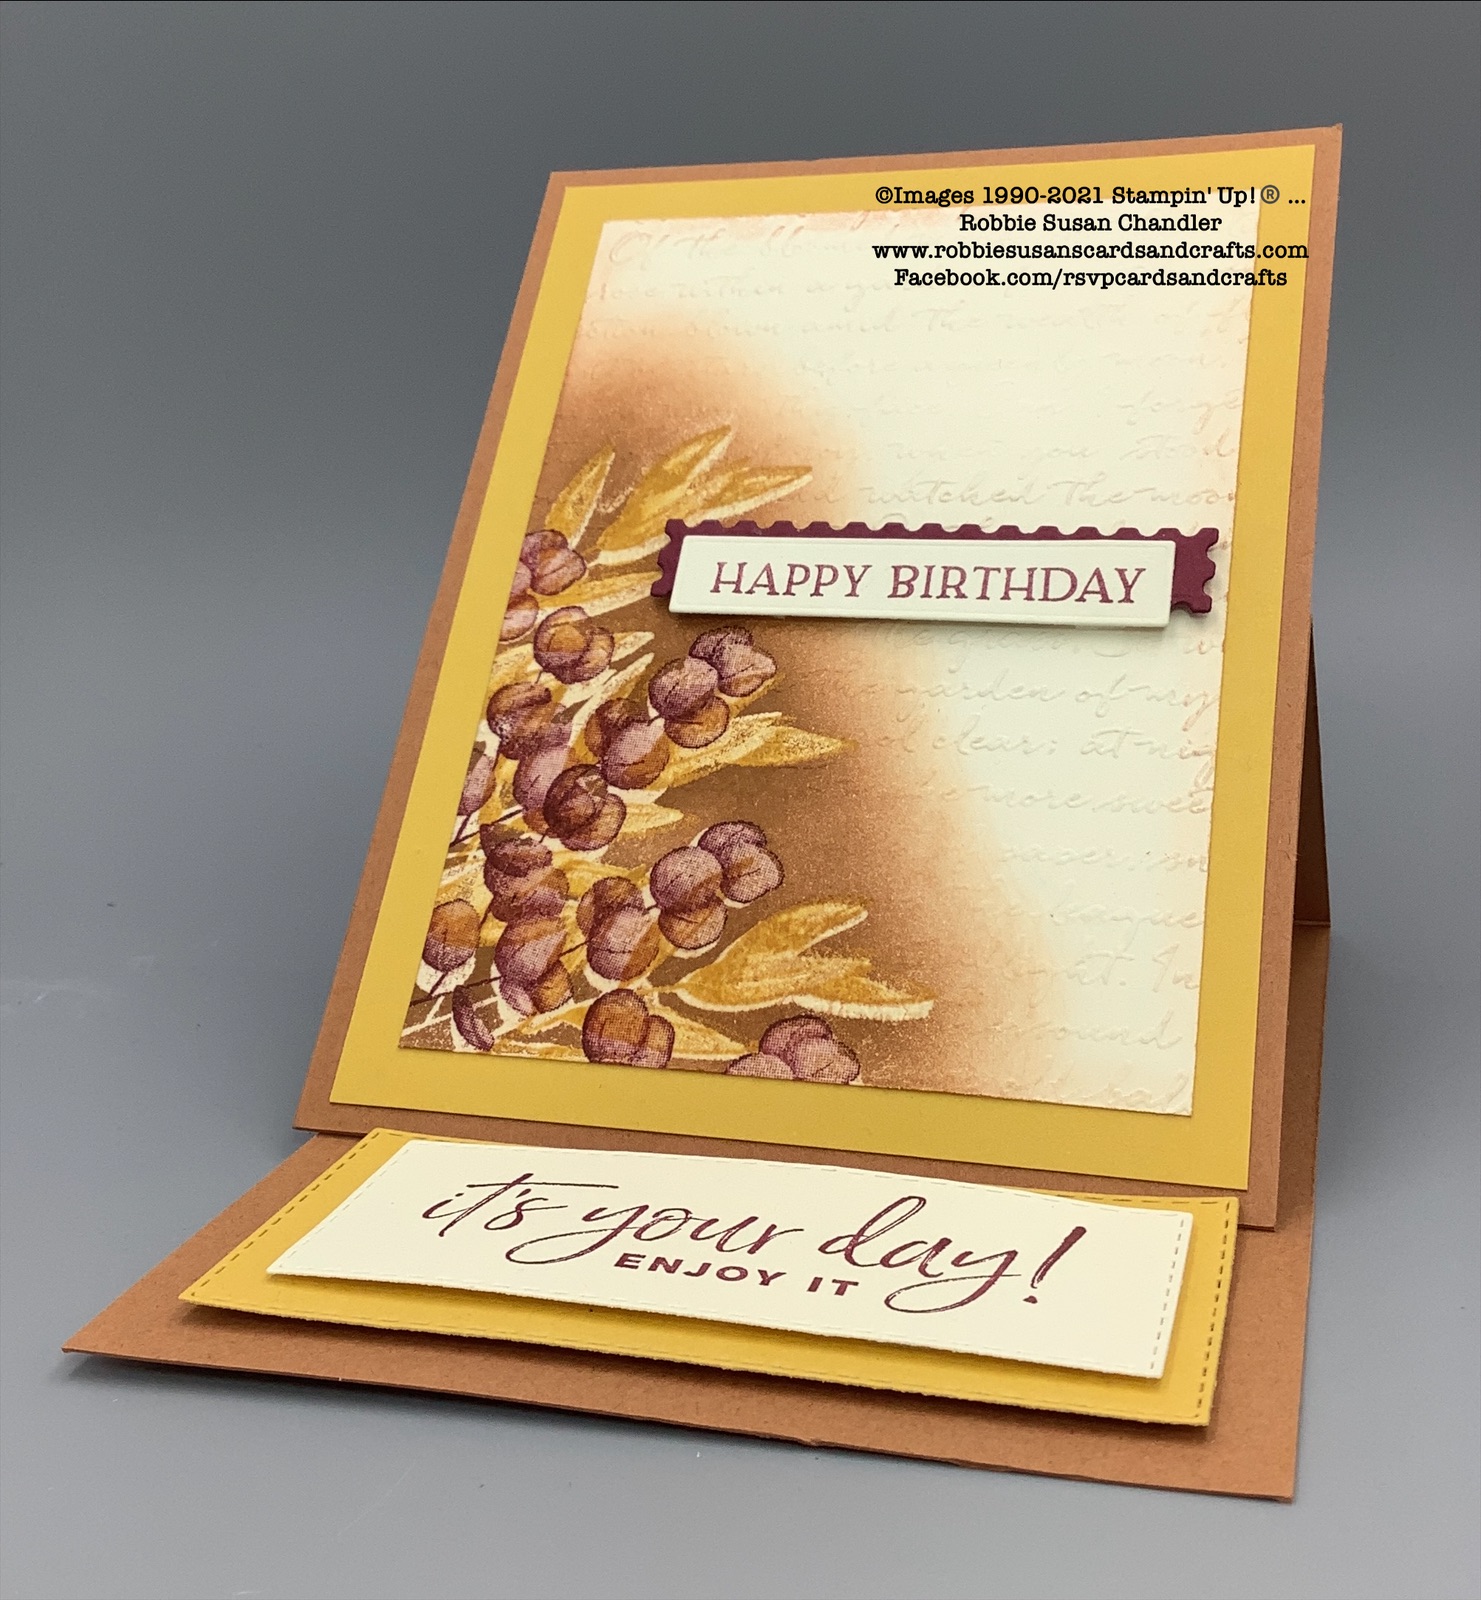
As you can see from my sample below and the one above, the white shadow areas are the places where I stamped in the VersaMark and didn't quite hit the previous stamped image. It gives a white shadow effect that I really like. The next step is to use either the Scripty or the Timeworn Type Embossing Folders to emboss this piece. Either one looks great! On my card I used Scripty. Adhere this piece to the Bumblebee piece.


Product List Stamp your sentiment on Basic White in Merry Merlot and cut with 3rd from smallest Stitched Rectangle die. Mount this to a Bumblebee piece cut with the 4th from smallest Stitched Rectangle die. Mount this piece to the bottom front with dimensionals. My birthday sentiment was stamped on Basic White with a stamp from Blossoms in Bloom with Merry Merlot ink, and cut with the small rectangle die from Beautiful Trees. I've been using this die quite a bit lately, as I like the size of it. The Merry Merlot accent piece was cut with a die from Floral Gallery.

I hope you find my card interesting enough to give it a try. Please take a minute to visit the blogs of the other talented demonstrators.

Subscribe to My Blog and Newsletter
 | |
 | |
 | |
 | |
 |  |
| |  |
 |  |
")
")
")


Love this I am going to have to try
ReplyDeleteThis is beautiful xx
ReplyDeleteThank you, Vickie Lou!
DeleteGreat job. This technique is part of a challenge I have this month so looking forward to trying it. Your card turned out so beautiful! Mind if I CASE it?
ReplyDeleteThanks so much! I love for you to CASE it! Best wishes with your challenge.
DeleteLove this way of doing Joseph’s coat! Thanks for sharing.
ReplyDeleteSuch a gorgeous card, I am going to try this technique!
ReplyDeleteThanks, Nina! I think you’ll love it.
DeleteThank you, Karen!
ReplyDeleteVery pretty card.
ReplyDeleteThanks so much, Melva!
DeleteBeautiful card, Robbie!
ReplyDeleteThank you, Bonnie!
DeleteStunning card, love all the blending :-)
ReplyDeleteThanks so much, Nigezza!
Delete