Friday, September 19, 2025

Triple Layer Card with the Floral Charm Designer Series Paper and the Branching Out Bundle

Branching-Out-Bundle-Floral-Charm-DSP-Triple-Layer-Stampin-Up

Hello and welcome to my blog! Today I want to share an easy and elegant card made with the beautiful Floral Charm Designer Series Paper and the Branching Out Bundle. I call this technique triple layering.

At the end of this post is a link for you to download a free tutorial with all the instructions and measurements and, also, a video showing the construction of this card. Links to all the supplies I used are also at the bottom.

Here is the front of the card where you can see the three layers.

Branching-Out-Bundle-Floral-Charm-DSP-Triple-Layer-Stampin-Up

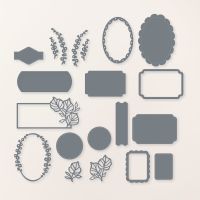
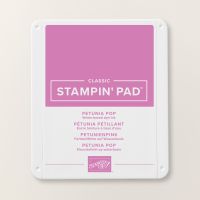
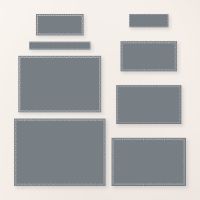
This is how I cut the layers. The Petunia Pop is cut with the largest and 4th to the largest dies. Notice you can cut all the layers at the same time.

Branching-Out-Bundle-Floral-Charm-DSP-Triple-Layer-Stampin-Up

The designer series paper was cut with the next to the largest and next to the smallest dies.

Branching-Out-Bundle-Floral-Charm-DSP-Triple-Layer-Stampin-Up

Here's a close-up of the layers.

Branching-Out-Bundle-Floral-Charm-DSP-Triple-Layer-Stampin-Up

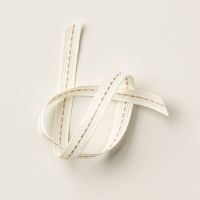
The sentiment was stamped on a piece of Basic Beige in Petunia Pop and cut with a die from Unbounded Love. A bow was tied with the Pecan Pie Center Striped ribbon and adhered with a mini glue dot above the sentiment.

Branching-Out-Bundle-Floral-Charm-DSP-Triple-Layer-Stampin-Up

The inside sentiment is from the Branching Out stamp set and is stamped in Petunia Pop on a piece of Basic Beige card stock and cut with the next to the largest Branching Out die.

Branching-Out-Bundle-Floral-Charm-DSP-Triple-Layer-Stampin-Up

I hope you will give this card a try. To download your free tutorial, just click on the box below.


Click on the picture below to visit my YouTube Channel to watch the construction of this card from start to finish. Please subscribe to my channel while you're there. 


Links to all the supplies I used are listed below.

Click here to see my current class schedule.

 Thank you for visiting my blog.


Subscribe to My Blog and Newsletter
* indicates required
Product List

Tuesday, September 16, 2025

Next In-Person Classes Beginning Next Thursday, September 25th


Hello and welcome to my blog. My next In-Person classes are coming up beginning Thursday, September 25th. You will make 2 All Occasions cards and 1 Christmas Card. It's never too early to start on those Christmas cards! Class cost is $25 or free with a $35 order. This includes written instructions and envelopes. The schedule is as follows:

Thursday, September 25th at 12:30
Thursday, September 25th at 5:00
Sunday, September 28th at 1:30
Monday, September 29th at 12:00 Full Class

Here are the cards you will make.

First, the Christmas card made with the beautiful Traditions of Christmas Designer Series Paper.


The next 2 cards are made with the gorgeous Autumn Toile Designer Series Paper.


Let me know as soon as possible which day and time you would like to attend. Hope to hear from you!

I have decided to offer a few kits for this class. If you would like the supplies to make these cards, the cost would be $30, which would include shipping. Just reply to this email and let me know.

Click here to see my current class schedule.

 Thank you for visiting my blog.


Subscribe to My Blog and Newsletter
* indicates required

Tuesday, September 2, 2025

Coneflower Celebration with the Awesome Sunflower Embossing Folder Technique-Ink Directly to Folder

Sunflower-embossing-folder-ink-to-folder-Coneflower-Celebration-Stampin-Up

Hello and welcome to my blog! Today I want to share an easy and elegant card made with the Sunflower Embossing Folder and the Coneflower Celebration Bundle. I'll show you a technique where you apply your ink before embossing your cardstock. 

At the end of this post is a link for you to download a free tutorial with all the instructions and measurements and, also, a video showing the construction of this card. Links to all the supplies I used are also at the bottom.

Here is the front of the card. This is an easel card, one of my favorite folds. You just score the 11" x 4 1/4" card base at 5 1/2" and 2 3/4". Look at that beautiful Sunflower Embossing Folder peeking out from behind the coneflower!

Sunflower-embossing-folder-ink-to-folder-Coneflower-Celebration-Stampin-Up

This view shows the easel fold.

Sunflower-embossing-folder-ink-to-folder-Coneflower-Celebration-Stampin-Up

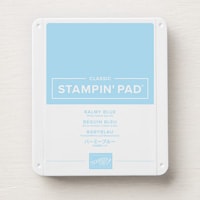
Now let's look at how to achieve the look. I patted the Balmy Blue ink pad all over the Sunflower Embossing Folder. If you want to make it a little lighter and to smooth the ink out, you could run a brayer across the embossing folder before you run it through your embossing machine. I ended up not doing this step in my classes and on the video and liked my results better.

Sunflower-embossing-folder-ink-to-folder-Coneflower-Celebration-Stampin-Up

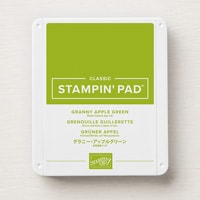
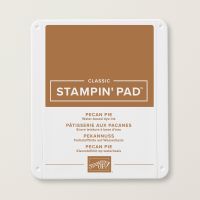
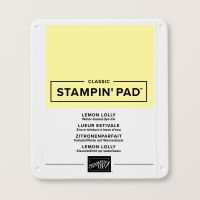
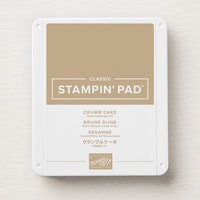
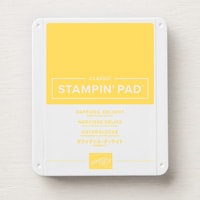
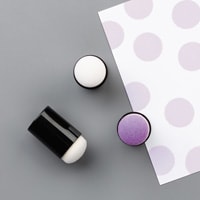
Using these colors, I used daubers to color in the flowers and leaves. (Pecan Pie and Crumb Cake for the flower centers, Granny Apple Green for the leaves, and Lemon Lolly and/or Daffodil Delight for the petals.

Sunflower-embossing-folder-ink-to-folder-Coneflower-Celebration-Stampin-Up

The results.

Sunflower-embossing-folder-ink-to-folder-Coneflower-Celebration-Stampin-Up

Next, adhere the coneflower to the card front. I used Daffodil Delight and Lemon Lolly for the petal die.

Sunflower-embossing-folder-ink-to-folder-Coneflower-Celebration-Stampin-Up

Sunflower-embossing-folder-ink-to-folder-Coneflower-Celebration-Stampin-Up

The sentiment was stamped in Balmy Blue, and it came from the Coneflower Celebration stamp set. The pieces were cut with the dies from Textured Notes. (I love this set!) Make sure you put both of these pieces on dimensionals so they will hold the easel up.

Sunflower-embossing-folder-ink-to-folder-Coneflower-Celebration-Stampin-Up

One last look!

Sunflower-embossing-folder-ink-to-folder-Coneflower-Celebration-Stampin-Up

I hope you will give this card a try. To download your free tutorial, just click on the box below.
 
Click on the picture below to visit my YouTube Channel to watch the construction of this card from start to finish. Please subscribe to my channel while you're there. 

Links to all the supplies I used are listed below.

Click here to see my current class schedule.

 Thank you for visiting my blog.


Subscribe to My Blog and Newsletter
* indicates required
Product List