Friday, June 28, 2024

Learn to Make a Beautiful Night Scene with Under the Moon Stamp Set

Under-the-Moon-Stampin-Up

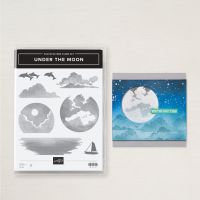
Hello and welcome to my blog! Today I'm going to show you how to make this beautiful night sea scene using the Under the Moon Stamp Set. First, let's take a look at the card and important points in making this card. At the bottom of my post are links for a free tutorial and instructional video.

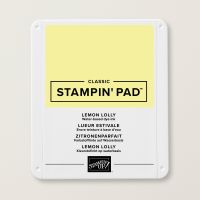
Let's look at how to make the artwork. Start with a 3 1/2" x 3 3/4" piece of Basic White. Stamp the moon in Lemon Lolly close to the top. Cover the bottom of the moon and the whole Basic White piece with a Post-It note.

Under-the-Moon-Stampin-Up

Punch a 2 1/4" circle out of a Post-It note and adhere over the moon.

Under-the-Moon-Stampin-Up

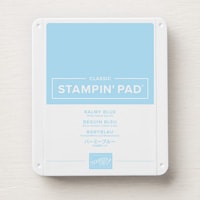
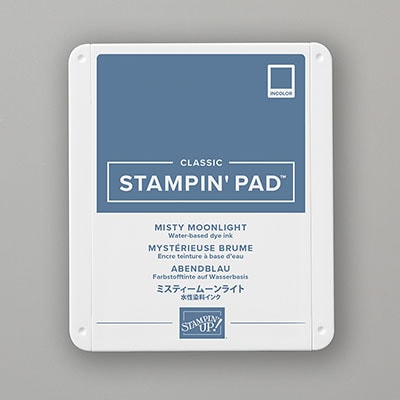
Lightly blend Balmy Blue ink around the moon. Next, blend Misty Moonlight on the rest of the white area.

Under-the-Moon-Stampin-Up

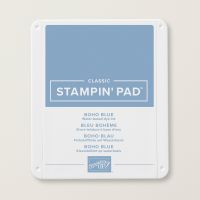
Remove the Post-It note and turn it around so it is covering the sky and moon. Make sure there is a very small blue strip showing below the Post-It note or you will have a white line at your horizon. Stamp the water stamp in Boho Blue.

Under-the-Moon-Stampin-Up

Finish off any white areas with Misty Moonlight ink.

Under-the-Moon-Stampin-Up

Stamp the porpoises, or the boat, from the stamp set in Memento Tuxedo Black.

Under-the-Moon-Stampin-Up

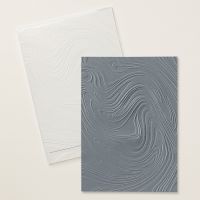
Emboss a 5 1/4" x 3" piece of Misty Moonlight cardstock with the So Swirly Embossing Folder and adhere to the left front. Cut two 1 3/8" squares out of Boho Blue cardstock and adhere behind the upper and lower left-hand side corners. Wrap white twine around the bottom and adhere to the card front with dimensionals.

Under-the-Moon-Stampin-Up

For some finishing touches, I added stars with a white gel pen and glimmer on the water with Wink of Stella.

Under-the-Moon-Stampin-Up

I did add a sentiment to the lower right-hand corner on a Basic White circle cut with a die from Spotlight on Nature. You can see that on my video. You can also see how I stamped my inside.

Under-the-Moon-Stampin-Up


Tada! Here's the finished card! See how easy that was! Now you can give it a try.

Click on the box below to download your free tutorial.

Click on the picture below to visit my YouTube Channel to watch a video showing the construction of this card. Please subscribe to my channel while you're over there.


Thank you for visiting my blog!!


Subscribe to My Blog and Newsletter
* indicates required
Product List

Saturday, June 15, 2024

Learn to make the Flower Cart with the Flower Cart Bundle for the Stamping with Friends Blog Hop

Flower-Cart-Zinnia-Designer-Series-Paper-Distressed-Brick-Stampin-Up


Hello, and welcome to my blog! Today I'm hopping with a talented group of Stamping with Friends demonstrators. We're highlighting current bundles, which is perfect timing since all bundles are an additional 10% off the month of June.

Flower-Cart-Zinnia-Designer-Series-Paper-Distressed-Brick-Stampin-Up


The bundle I'm highlighting is the Flower Cart Bundle. I love this bundle and the flower card is so cute! There are so many ways this cart could be made. Below are several pictures of the card, but since there are so many parts to the flower cart, I have provided a free tutorial and a video for you to help you see how to construct this card.

In this picture you can see that I embossed the Basic White piece and the Zinnia Designer Series Paper with the Distressed Brick Embossing Folder.


Flower-Cart-Zinnia-Designer-Series-Paper-Distressed-Brick-Stampin-Up

Check out the flower card! So cute!

Flower-Cart-Zinnia-Designer-Series-Paper-Distressed-Brick-Stampin-Up


The sentiment is also from the Flowers Cart stamp set. It is stamped in the same ink as the card stock I used, Poppy Parade. The Basic White pieces were cut with dies from Perennial Postage.

Flower-Cart-Zinnia-Designer-Series-Paper-Distressed-Brick-Stampin-Up

This is how I completed the inside, but you can design your own inside.

Flower-Cart-Zinnia-Designer-Series-Paper-Distressed-Brick-Stampin-Up

One more look at the card.

Flower-Cart-Zinnia-Designer-Series-Paper-Distressed-Brick-Stampin-Up

To download your free tutorial, please click on the box below.

Click on the picture below to visit my YouTube channel for complete instructions on how to make the flower cart. While you're there, please like my video and subscribe to my channel. Thanks so much for watching. 


Please take a minute to check out all the fabulous projects from the other demonstrators. Just click on the words "Next Blog".


Subscribe to My Blog and Newsletter
* indicates required
Product List
Flower Cart Bundle (English)
$52.00
Exposed Brick 3 D Embossing Folder
$11.00
Stylish Shapes Dies
$30.00
Perennial Postage Dies
$33.00
Adhesive Backed Dragonflies & Birds
$8.50
Flowering Zinnias 12" X 12" (30.5 X 30.5 Cm) Designer Series Paper
$12.50
Go To Greetings Cling Stamp Set (English)
$24.00
Around The Bend Photopolymer Stamp Set (English)
$25.00
Basic White 8 1/2" X 11" Thick Cardstock
$9.00
Basic White 8 1/2" X 11" Cardstock
$10.50
Sweet Sorbet 8 1/2" X 11" Cardstock
$10.00
Sweet Sorbet Classic Stampin' Pad
$9.00
Basic Black 8-1/2" X 11" Cardstock
$10.00
Pecan Pie 8 1/2" X 11" Cardstock
$10.00
Poppy Parade 8-1/2" X 11" Cardstock
$8.75
Shaded Spruce Classic Stampin' Pad
$9.00
Poppy Parade Classic Stampin' Pad
$9.00