Friday, March 7, 2025

Card #2 with the Mixed Floral Bundle and the Mixed Media Florals Designer Series Paper

Mixed-Media-Bundle-Mixed-Media-Florals-DSP-Birthday-Fancy-Fold-Stampin-Up

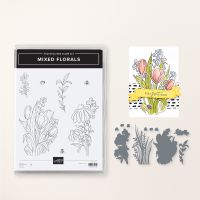
Hello and welcome to my blog! Today I want to share with you card #2 using the gorgeous Mixed Florals Bundle and the Mixed Media Florals Designer Series Paper. Look for Card #1 with this same set. Click here for the link to my blog featuring Card #1. 

At the end of this post is a link for you to download a free tutorial with all the instructions and measurement and, also, a video showing the construction of this card. Links to all the supplies I used are also at the bottom. In the video, I changed the card to a birthday card.

Shown here is the front view of the card.

Mixed-Media-Bundle-Mixed-Media-Florals-DSP-Birthday-Fancy-Fold-Stampin-Up

As you can see from the pictures below, the card is a fancy-fold that folds 2 3/4" from each end of the 11" x 4 1/4" piece of Basic Black cardstock.

Mixed-Media-Bundle-Mixed-Media-Florals-DSP-Birthday-Fancy-Fold-Stampin-Up


I adhered an 
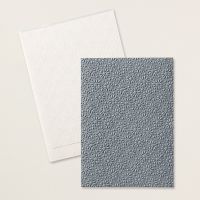
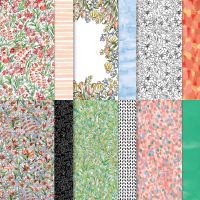
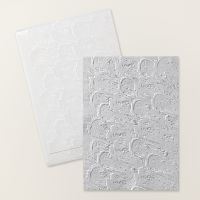
4" x 2 1/2" Starstruck embossed piece of Shaded Spruce cardstock to the top half and a 4" x 2 1/2" piece of Mixed Media Floral Designer Series Paper to the bottom half. The Basic Black piece was cut with the largest die from Countryside Corners dies and embossed with the Plaster Painting Embossing Folder.


Mixed-Media-Bundle-Mixed-Media-Florals-DSP-Birthday-Fancy-Fold-Stampin-Up

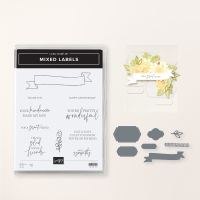
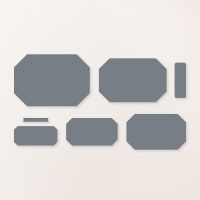
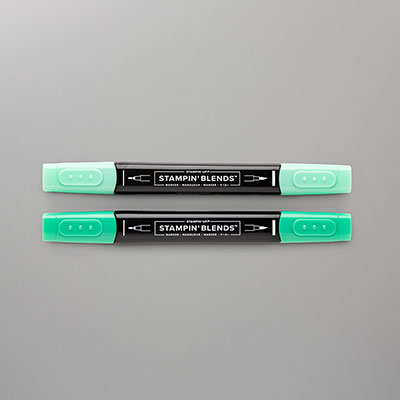
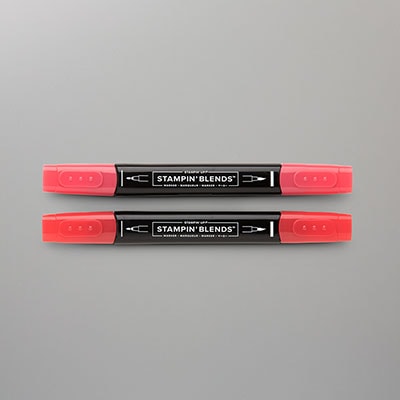
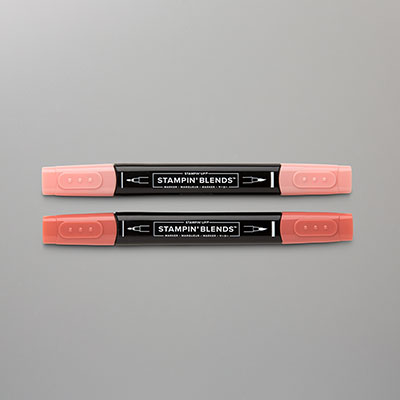
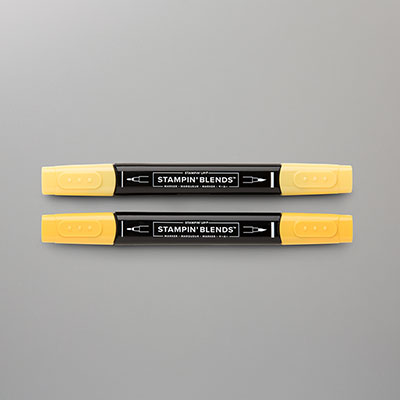
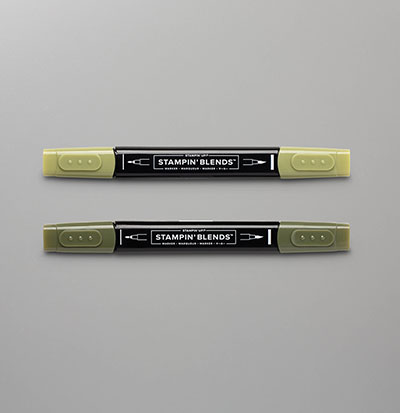
The tulips were stamped in Memento Tuxedo Black ink and colored with the following blends combos: Shaded Spruce, Lemon Lolly, and Poppy Parade. Wink of Stella was applied. The sentiment label was cut with a die from Mixed Labels Dies.

Mixed-Media-Bundle-Mixed-Media-Florals-DSP-Birthday-Fancy-Fold-Stampin-Up

Here is a reveal of the inside,

Mixed-Media-Bundle-Mixed-Media-Florals-DSP-Birthday-Fancy-Fold-Stampin-Up

and here's the whole inside. I stamped the tulips in Basic Beige and the sentiment, from Mixed Labels, in Shaded Spruce.

Mixed-Media-Bundle-Mixed-Media-Florals-DSP-Birthday-Fancy-Fold-Stampin-Up

I hope you will give this card a try. To download your free tutorial with all the measurements and step-by-step instructions, just click on the box below.


Click on the picture below to visit my YouTube Channel to watch the construction of this card from start to finish. Please subscribe to my channel while you're there. 


Links to all the supplies I used are listed below.

Click here to see my current class schedule.

 Thank you for visiting my blog.


Subscribe to My Blog and Newsletter
* indicates required
Product List

Wednesday, March 5, 2025

Card #1 with the Mixed Media Bundle and the Mixed Media Florals Designer Series Paper

Mixed-Media-Florals-Bundle-DSP-Birthday-Stampin-Up

Hello and welcome to my blog! Today I want to share with you card #1 using the gorgeous Mixed Media Bundle and the Mixed Media Florals Designer Series Paper. Look for Card #2 with this same set coming up. 

At the end of this post is a link for you to download a free tutorial with all the instructions and measurement and, also, a video showing the construction of this card. Links to all the supplies I used are also at the bottom.

Shown here is the front view of the card. Notice the card style is a book bind card. A one inch-section on the left is adhered down to form the bind. The measurements are 8 1/2" x 5 1/2" piece of Azure Afternoon cardstock scored at 4 1/4" and 3 1/4". The paper is from the Mixed Media Florals Designer Series Paper pack.


Mixed-Media-Florals-Bundle-DSP-Birthday-Stampin-Up

The Garden Green grass behind the flowers was cut with a die from the Mixed Florals dies as well as the flower.

Mixed-Media-Florals-Bundle-DSP-Birthday-Stampin-Up

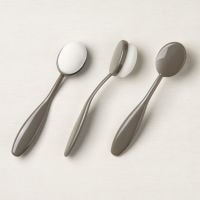
The following blends were used to color the flower: Calypso Coral Combo, Daffodil Delight Light, Mossy Meadow Combo. Wink of Stella was added just because we all love Wink of Stella! I also used a blending brush and blended Boho Blue ink in the white areas around the flower so it would blend in with the background.

Mixed-Media-Florals-Bundle-DSP-Birthday-Stampin-Up

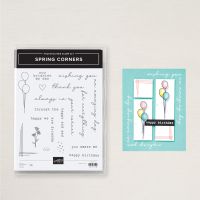
The inside was stamped with Azure Afternoon ink with the new and awesome Spring Corners stamp set.

Mixed-Media-Florals-Bundle-DSP-Birthday-Stampin-Up

I hope you will give this card a try. To download your free tutorial with all the measurements and step-by-step instructions, just click on the box below.


Click on the picture below to visit my YouTube Channel to watch the construction of this card from start to finish. Please subscribe to my channel while you're there. 


Links to all the supplies I used are listed below.

Click here to see my current class schedule.

 Thank you for visiting my blog.


Subscribe to My Blog and Newsletter
* indicates required
Product List

Monday, March 3, 2025

Everyday Arches and Everyday Skies Designer Series paper

Everyday-Arches-Everyday-Skies-Sympathy-birthday-stampin-up

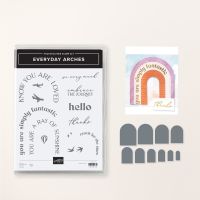
Hello and welcome to my blog! Today I want to share with you a beautiful and easy-to-make card using the gorgeous Everyday Skies Specialty Designer Series Paper and the Everyday Arches Bundle. The Everyday Skies paper pack has 12 double-sided designs that would all work with this layout. 

At the end of this post is a link for you to download a free tutorial with all the instructions and measurement and, also, a video showing the construction of this card. Links to all the supplies I used are also at the bottom.

Shown here is the front view of the card. I cut the arch out with the dies from Everyday Arches. The arch piece was stamped with the birds from Everyday Arches and the sentiment from Beside Me stamp set.

Everyday-Arches-Everyday-Skies-Sympathy-birthday-stampin-up

The card front was embossed with the Plaster Painting Embossing Folder. I felt that gave somewhat of a sky effect to the front.

Everyday-Arches-Everyday-Skies-Sympathy-birthday-stampin-up

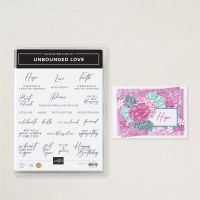
The arch, that was cut out of the designer series paper used on the front, was adhered to the card inside to frame the sentiment that is from the Unbounded Love stamp set. The hot air balloon is from Everyday Arches stamp set.

Everyday-Arches-Everyday-Skies-Sympathy-birthday-stampin-up


I hope you will give this card a try. To download your free tutorial with all the measurements and step-by-step instructions, just click on the box below.

 
Click on the picture below to visit my YouTube Channel to watch the construction of this card from start to finish. Please subscribe to my channel while you're there. 


Links to all the supplies I used are listed below.

Click here to see my current class schedule.

 Thank you for visiting my blog.


Subscribe to My Blog and Newsletter
* indicates required
Product List